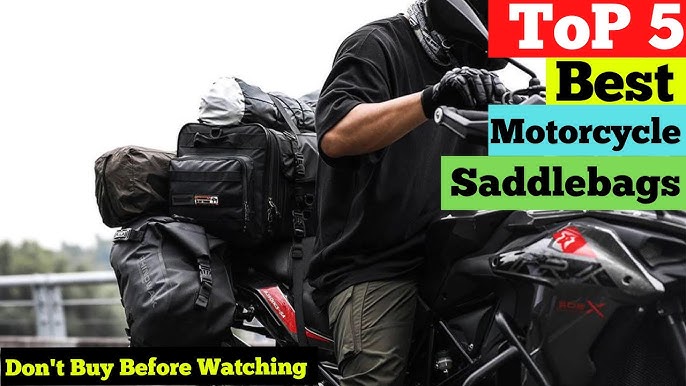
Alright, let me tell you about getting hard saddlebags sorted for my motorcycle. I was getting pretty tired of strapping stuff down or wearing a backpack all the time, especially on longer rides. Soft bags just didn’t feel secure enough for leaving things with the bike, you know? So, hard bags it was.

Figuring Out What to Get
First thing, I spent a fair bit of time just looking around online, checking forums, seeing what other folks used. Needed something big enough for essentials, maybe a rain suit, some tools, but not so huge they’d look ridiculous on my ride. Looked at locking mechanisms – definitely wanted something I could lock up. Price was a factor too, didn’t want to break the bank.
Ended up finding a set that seemed like a good balance. They weren’t top-of-the-line expensive, but looked sturdy enough and had decent locks. Crucially, they came with “universal” mounting brackets. Universal usually means “will fit with some effort,” which turned out to be about right.
Getting Started with the Install
Once the box arrived, I pulled everything out. The bags looked decent. The brackets… well, they were a collection of metal plates and bolts. The instructions were pretty basic, mostly pictures, not super helpful. Typical.
So, first real step was prepping the bike. Gave the rear fender area a good clean so I wasn’t working around dirt. Then I gathered my tools. Needed my socket set, some wrenches, Allen keys, maybe a level. Laid out a blanket on the garage floor so I wouldn’t scratch anything or lose bolts.
I had to take off the passenger seat first to get better access to the fender struts where the brackets needed to mount. That was easy enough, just a couple of bolts.

The Bracket Battle
Now for the “fun” part – the brackets. This took the most time. The idea was simple: bolt the bracket plates to the fender strut mounting points. Getting them lined up right, though, that was fiddly.
- Held the main bracket piece up to see where the holes lined up.
- Loosely attached it using the longer bolts provided (replacing the original fender strut bolts).
- Then figured out which combination of the other metal plates and spacers would position the bag correctly.
This involved a lot of trial and error. I’d attach the plates one way, hold a bag up to it (they weren’t light!), see it was crooked or too close to the turn signal, then take it apart and try a different combination. Did one side loosely, then tried to mirror it on the other side to keep things even.
Had to make sure the bags would clear the shocks when the suspension compressed and wouldn’t hit the exhaust pipes. Used a level across the mounting points to try and get them reasonably straight.
Mounting the Bags
Once I was fairly happy with the bracket positions, it was time to actually bolt the bags to the brackets. My set required drilling holes in the bags themselves. Measure twice, drill once, right? I was pretty careful here.
I marked the spots on the inside of the bags where the bracket holes lined up. Took a deep breath and drilled the holes. Then it was just a matter of putting bolts through from the inside of the bag, through the bracket, and tightening the nuts on the other side. Used some rubber washers that came with the kit to hopefully help with vibrations and water sealing.

Final Checks and Tightening
With both bags mounted, I did a final check. Stood back, looked at it from different angles. Pushed on them to check for wobble. Sat on the bike, bounced the suspension a bit. Checked clearance for the turn signals again.
Everything looked okay, maybe not factory perfect, but solid and even. So I went around and tightened all the bolts properly – the ones holding the brackets to the bike, and the ones holding the bags to the brackets. Didn’t go crazy tight, just snugged them up good.
Put the passenger seat back on. The whole job probably took me a couple of hours, mostly messing with those brackets.
The Result
Took it for a short ride afterwards. Threw a few things in the bags to see how they handled with some weight. Didn’t notice any weird handling changes. Checked the bolts again when I got back, everything was still tight. No rattles either, which was nice.
Honestly, having lockable, weatherproof storage right there on the bike is a game changer. No more backpack sweat, and I feel way better about leaving my helmet or jacket with the bike for a quick stop. It was a bit of a hassle, especially those brackets, but totally worth the effort in the end. Looks pretty decent too!