Alright, let’s talk about moto chains. I messed around with them quite a bit lately, so I figured I’d share my experience.
First off, I got myself a new motorcycle. Sweet ride, but the chain was looking a little rough. So, I decided, “Alright, time to tackle this thing myself.” I’d seen some videos, read some articles, seemed doable.
Step 1: Gathering the Tools. I didn’t want to screw things up, so I made sure I had everything. Chain breaker/press, new master link (clip style, seemed easiest for a first timer), chain lube, some rags, and of course, gloves. Oh, and a torque wrench! Don’t forget that!
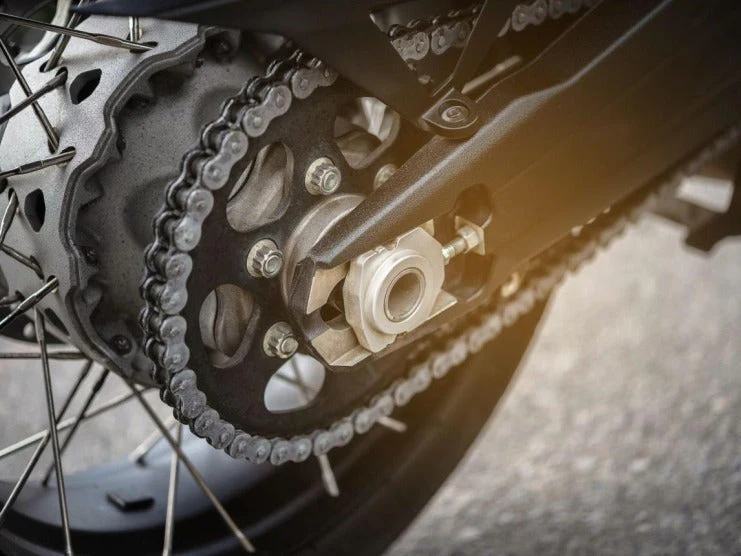
Step 2: Getting the Old Chain Off. This was the part I was most nervous about. I lined up the chain breaker pins with the link I wanted to remove. Started cranking… and nothing. Cranked harder… still nothing. I was about to start sweating bullets thinking I’d break the tool or the chain. Then I realized I hadn’t loosened the nut on the chain breaker enough! Doh! Loosened it up, tried again, and POP! Link was broken. The old chain came off pretty easy after that.
Step 3: Measuring and Cutting the New Chain. This is where I really paid attention. I laid the old chain next to the new one, making sure they were lined up properly. Marked the new chain where I needed to break it. Double, triple checked my measurement. This time, the chain breaker worked like a charm.
Step 4: Installing the New Chain. Putting the new chain on was a breeze. Threaded it around the sprockets, front and rear. Then came the master link. Lined it up, pressed the side plate on using the chain press part of my tool (that tool is seriously handy!). Clipped on the clip, making sure the open end of the clip was facing the correct direction (away from the direction of travel!).
Step 5: Tensioning the Chain. This is important! I found the chain slack adjustment marks on my swingarm. Loosened the axle nut, adjusted the chain tension to the recommended spec (check your bike’s manual!), and then torqued everything back down to the right spec using my torque wrench. No guesswork here!
Step 6: Lube It Up! Gave the new chain a good coating of chain lube. Made sure to get it into all the nooks and crannies.
Step 7: Test Ride! Took it for a short spin around the block. Everything felt smooth and quiet. No weird noises, no chain jumping off the sprockets. Success!
Things I Learned:
- Don’t be afraid to ask for help. YouTube is your friend!
- Take your time and double check everything.
- A good chain breaker/press is worth the investment.
- Chain lube is your best friend. Keep that chain lubed!
- Always use a torque wrench on important fasteners.
Overall, it was a pretty straightforward job. Saved myself some money, and now I know how to do it myself next time. Plus, the bike feels so much smoother now. Totally worth the effort!