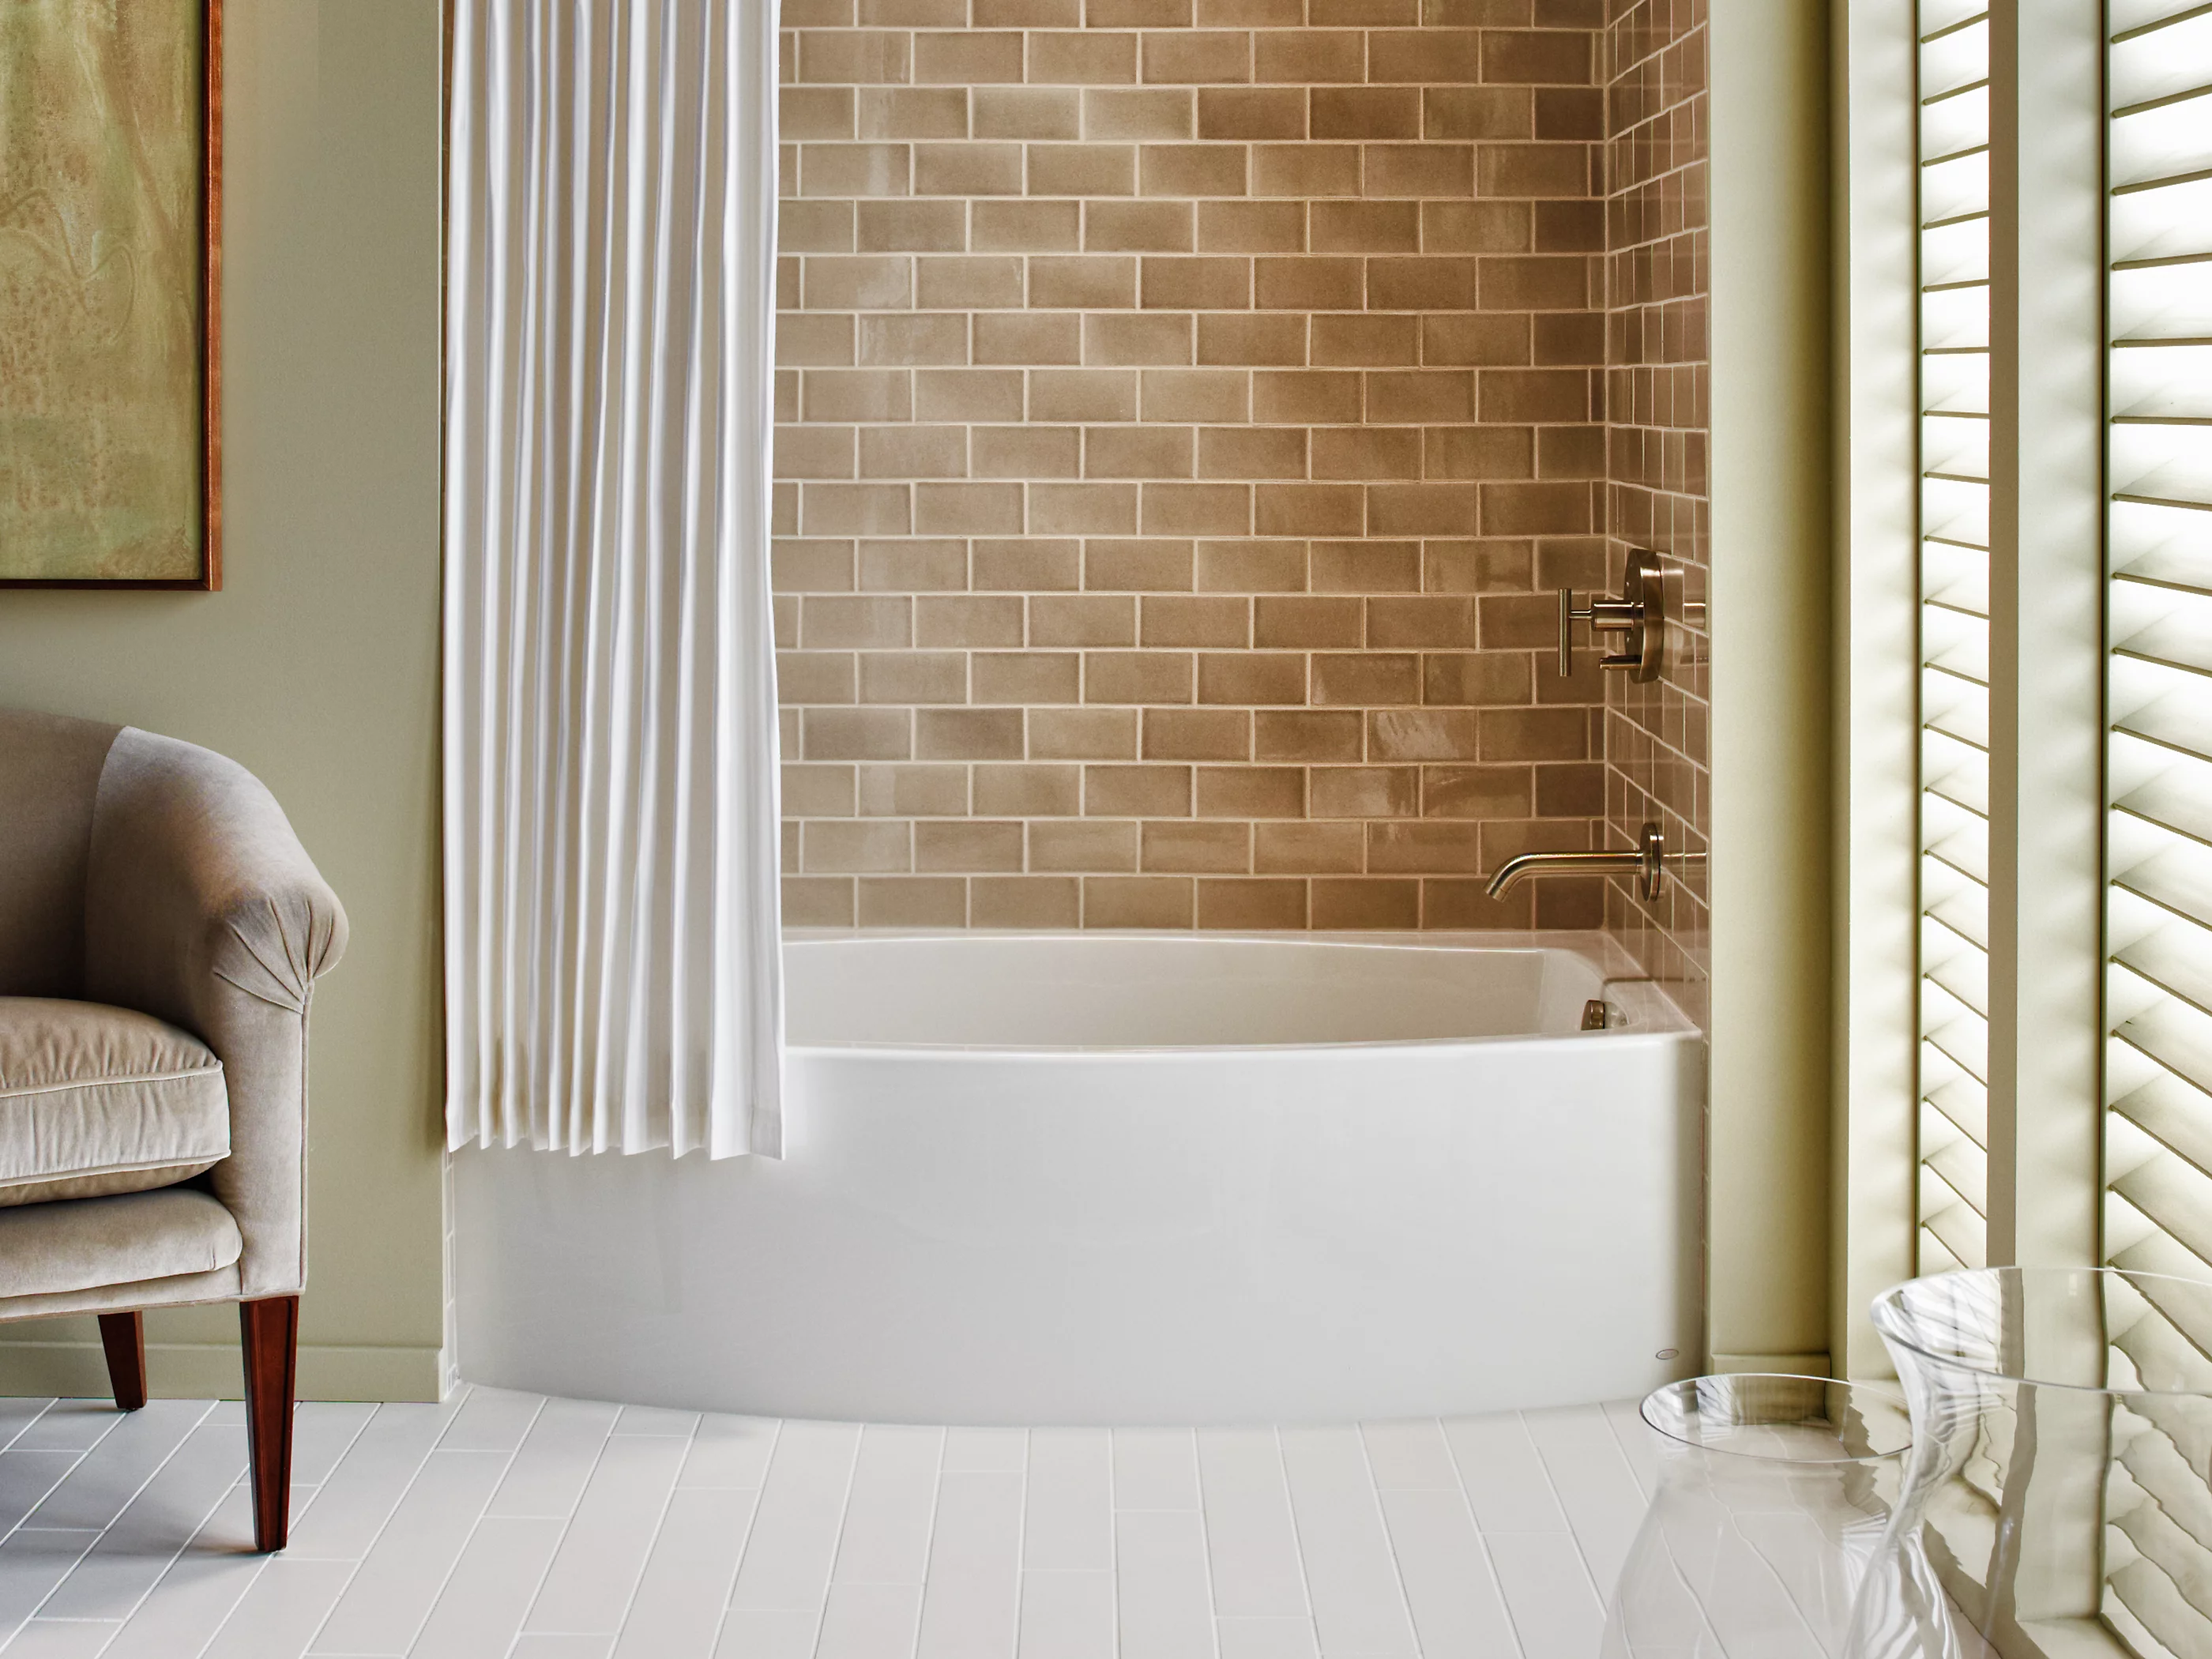
I decided to tackle the bathroom remodel myself, starting with installing the new tub, a K-1100-RA. I gotta say, it wasn’t as daunting as I thought it would be, though there were definitely a few moments of head-scratching.
First things first, I gathered all my tools and materials. This included the tub itself, the drain assembly – which was the Clearflo 1-1/2″ adjustable pop-up bath drain, I think it’s called K-7161 or something, and I also got the K-7213 Clearflo cable bath drain with PVC tubing, just in case.
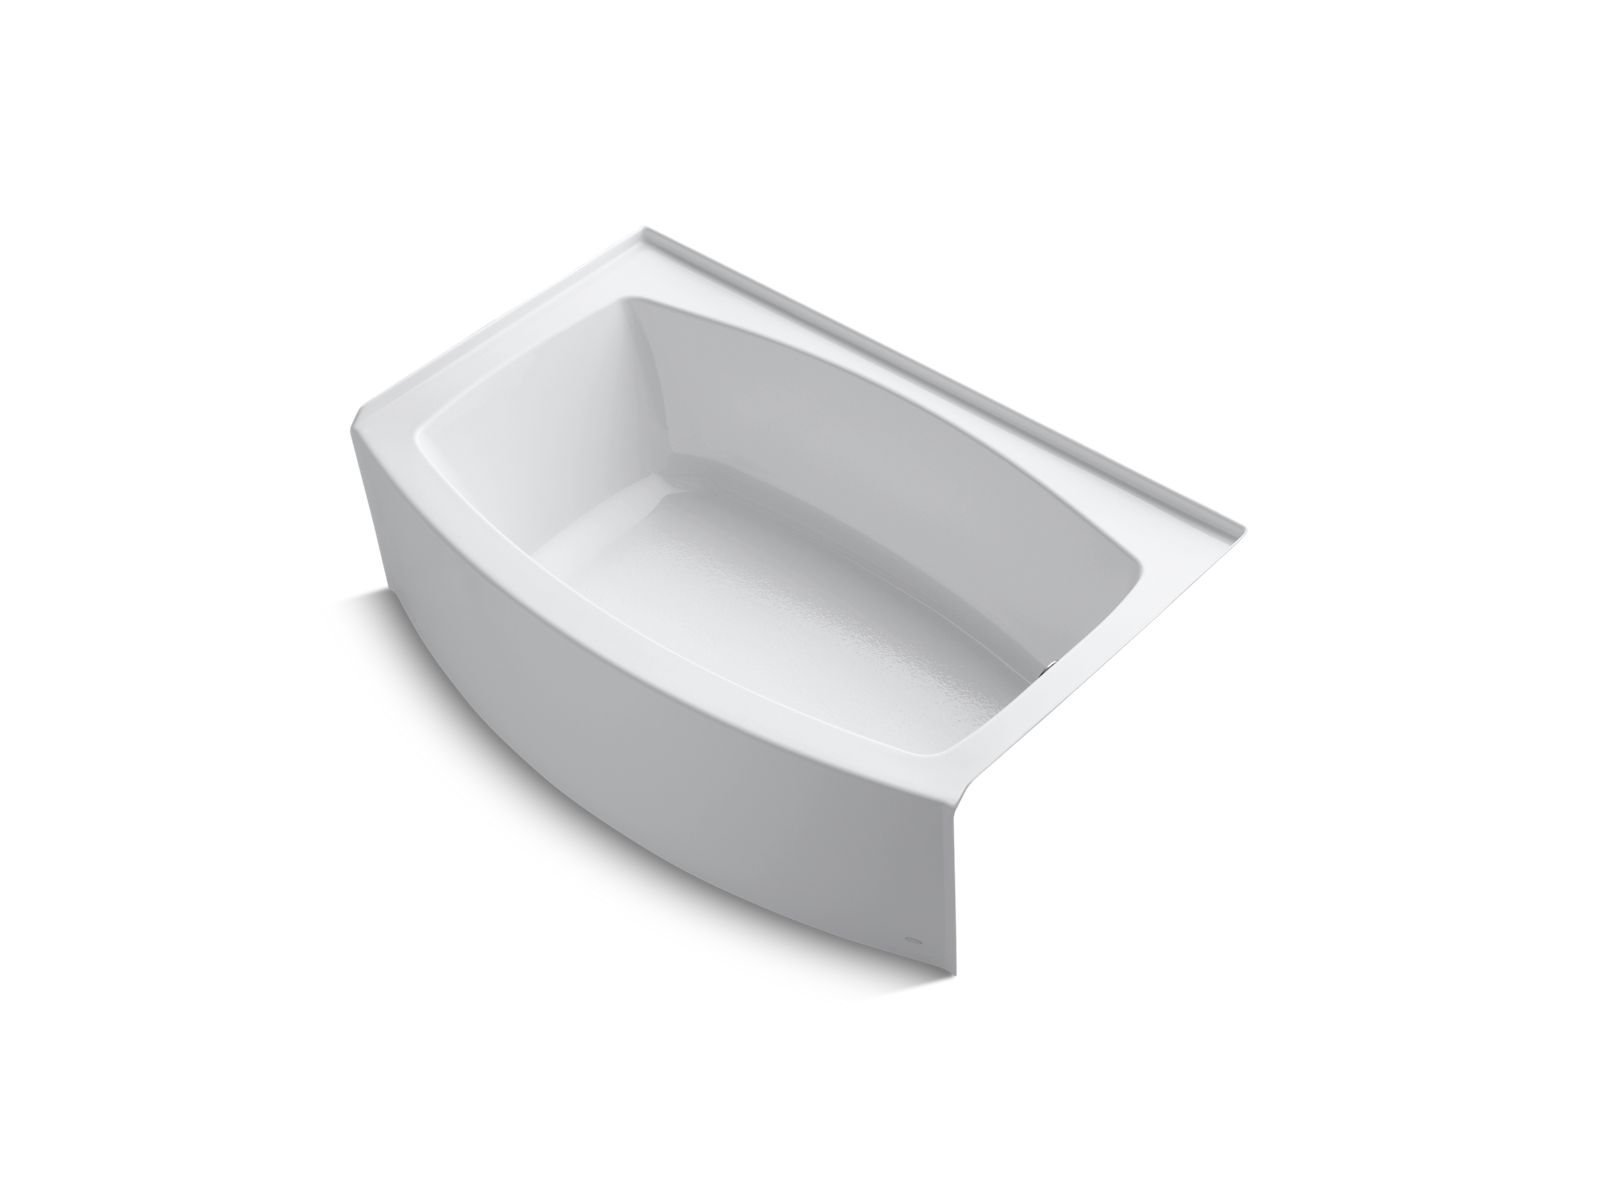
Then, I started prepping the space. I measured out the alcove to make sure the tub would fit. It was a standard size, 60 inches long and 32 inches wide, so it was a perfect match. I cleared out the old tub – that was a whole other adventure – and made sure the subfloor was level and sturdy.
- Next, I positioned the new tub. This K-1100-RA model has this curved basin, which is pretty cool and makes it more comfortable, I guess. It also has an integral flange, which I learned is there to prevent water from seeping behind the wall. Handy feature!
- I made sure it was level and then secured it to the studs, following the instructions that came with it.
Connecting the Drain
Connecting the drain was a bit tricky, but I managed. I went with the K-7213 cable drain with the PVC tubing. I connected it to the tub’s overflow and drain, then to the main drain line. I tested it a few times to make sure there were no leaks, and thankfully, it was all good.
Final Touches
Once the tub was in place and the drain was connected, I sealed around the edges with caulk to make it watertight. I also installed the textured bottom – it helps prevent slips, which is important. After letting everything dry and cure, I filled up the tub for a test run. Seeing that water fill up that curved basin, with no leaks, was such a satisfying moment!
It took some time and effort, but I successfully installed the K-1100-RA tub. Now, onto the rest of the bathroom!