Okay, so today I’m gonna walk you through this little project I tackled: modding a hammer and a hatchet. Figured it would be a fun way to spend a weekend, and honestly, I’m pretty happy with how it turned out.
First, the Hunt for Raw Materials
Started off hitting up a local flea market. Was on the lookout for a couple of things: a decent sized hammer head and a hatchet head. Didn’t want anything too fancy, just something solid I could work with. Scored a hammer with a slightly loose head for like, five bucks. The hatchet was a bit pricier, maybe fifteen, but the steel looked good, and the edge wasn’t totally trashed.
Stripping Down to Bare Metal
Next step was getting rid of the old handles. The hammer’s handle was pretty beat up, so that came off easily enough with a rubber mallet and a bit of persuasion. The hatchet’s handle was a real pain. Ended up having to burn it out, then chisel away the remains. Messy job, but gotta do what you gotta do.
Cleaning and Assessing the Heads
After that, I cleaned up the hammer and hatchet heads with a wire brush attachment on my drill. Got rid of all the rust and grime. Gave me a better look at the steel, made sure there weren’t any cracks or anything major. Both seemed solid, ready for some new handles.
Handle Selection: Hickory, Baby!
Decided to go with hickory for the handles. It’s tough, durable, and looks good. Headed over to the hardware store and picked up a couple of unfinished hickory handles. One for a standard hammer, and another that was a good fit for the hatchet eye (the hole where the handle goes). Had to do a bit of filing and sanding to get the hatchet handle to fit just right. Tedious, but important.
Fitting the Handles
This is where things got interesting. For the hammer, I just tapped the handle into the head using a rubber mallet. Made sure it was snug and secure. Then, I drove in a metal wedge to spread the handle inside the hammer head, locking it in place. For the hatchet, it was a similar process, but I used both a metal wedge and a wooden wedge for extra security.

Shaping and Sanding
With the handles securely in place, it was time to shape them. Used a rasp to remove any excess wood, then sanded everything smooth with progressively finer grits of sandpaper. This took a while, but a comfortable handle is key. I wanted them to feel good in my hand, you know?
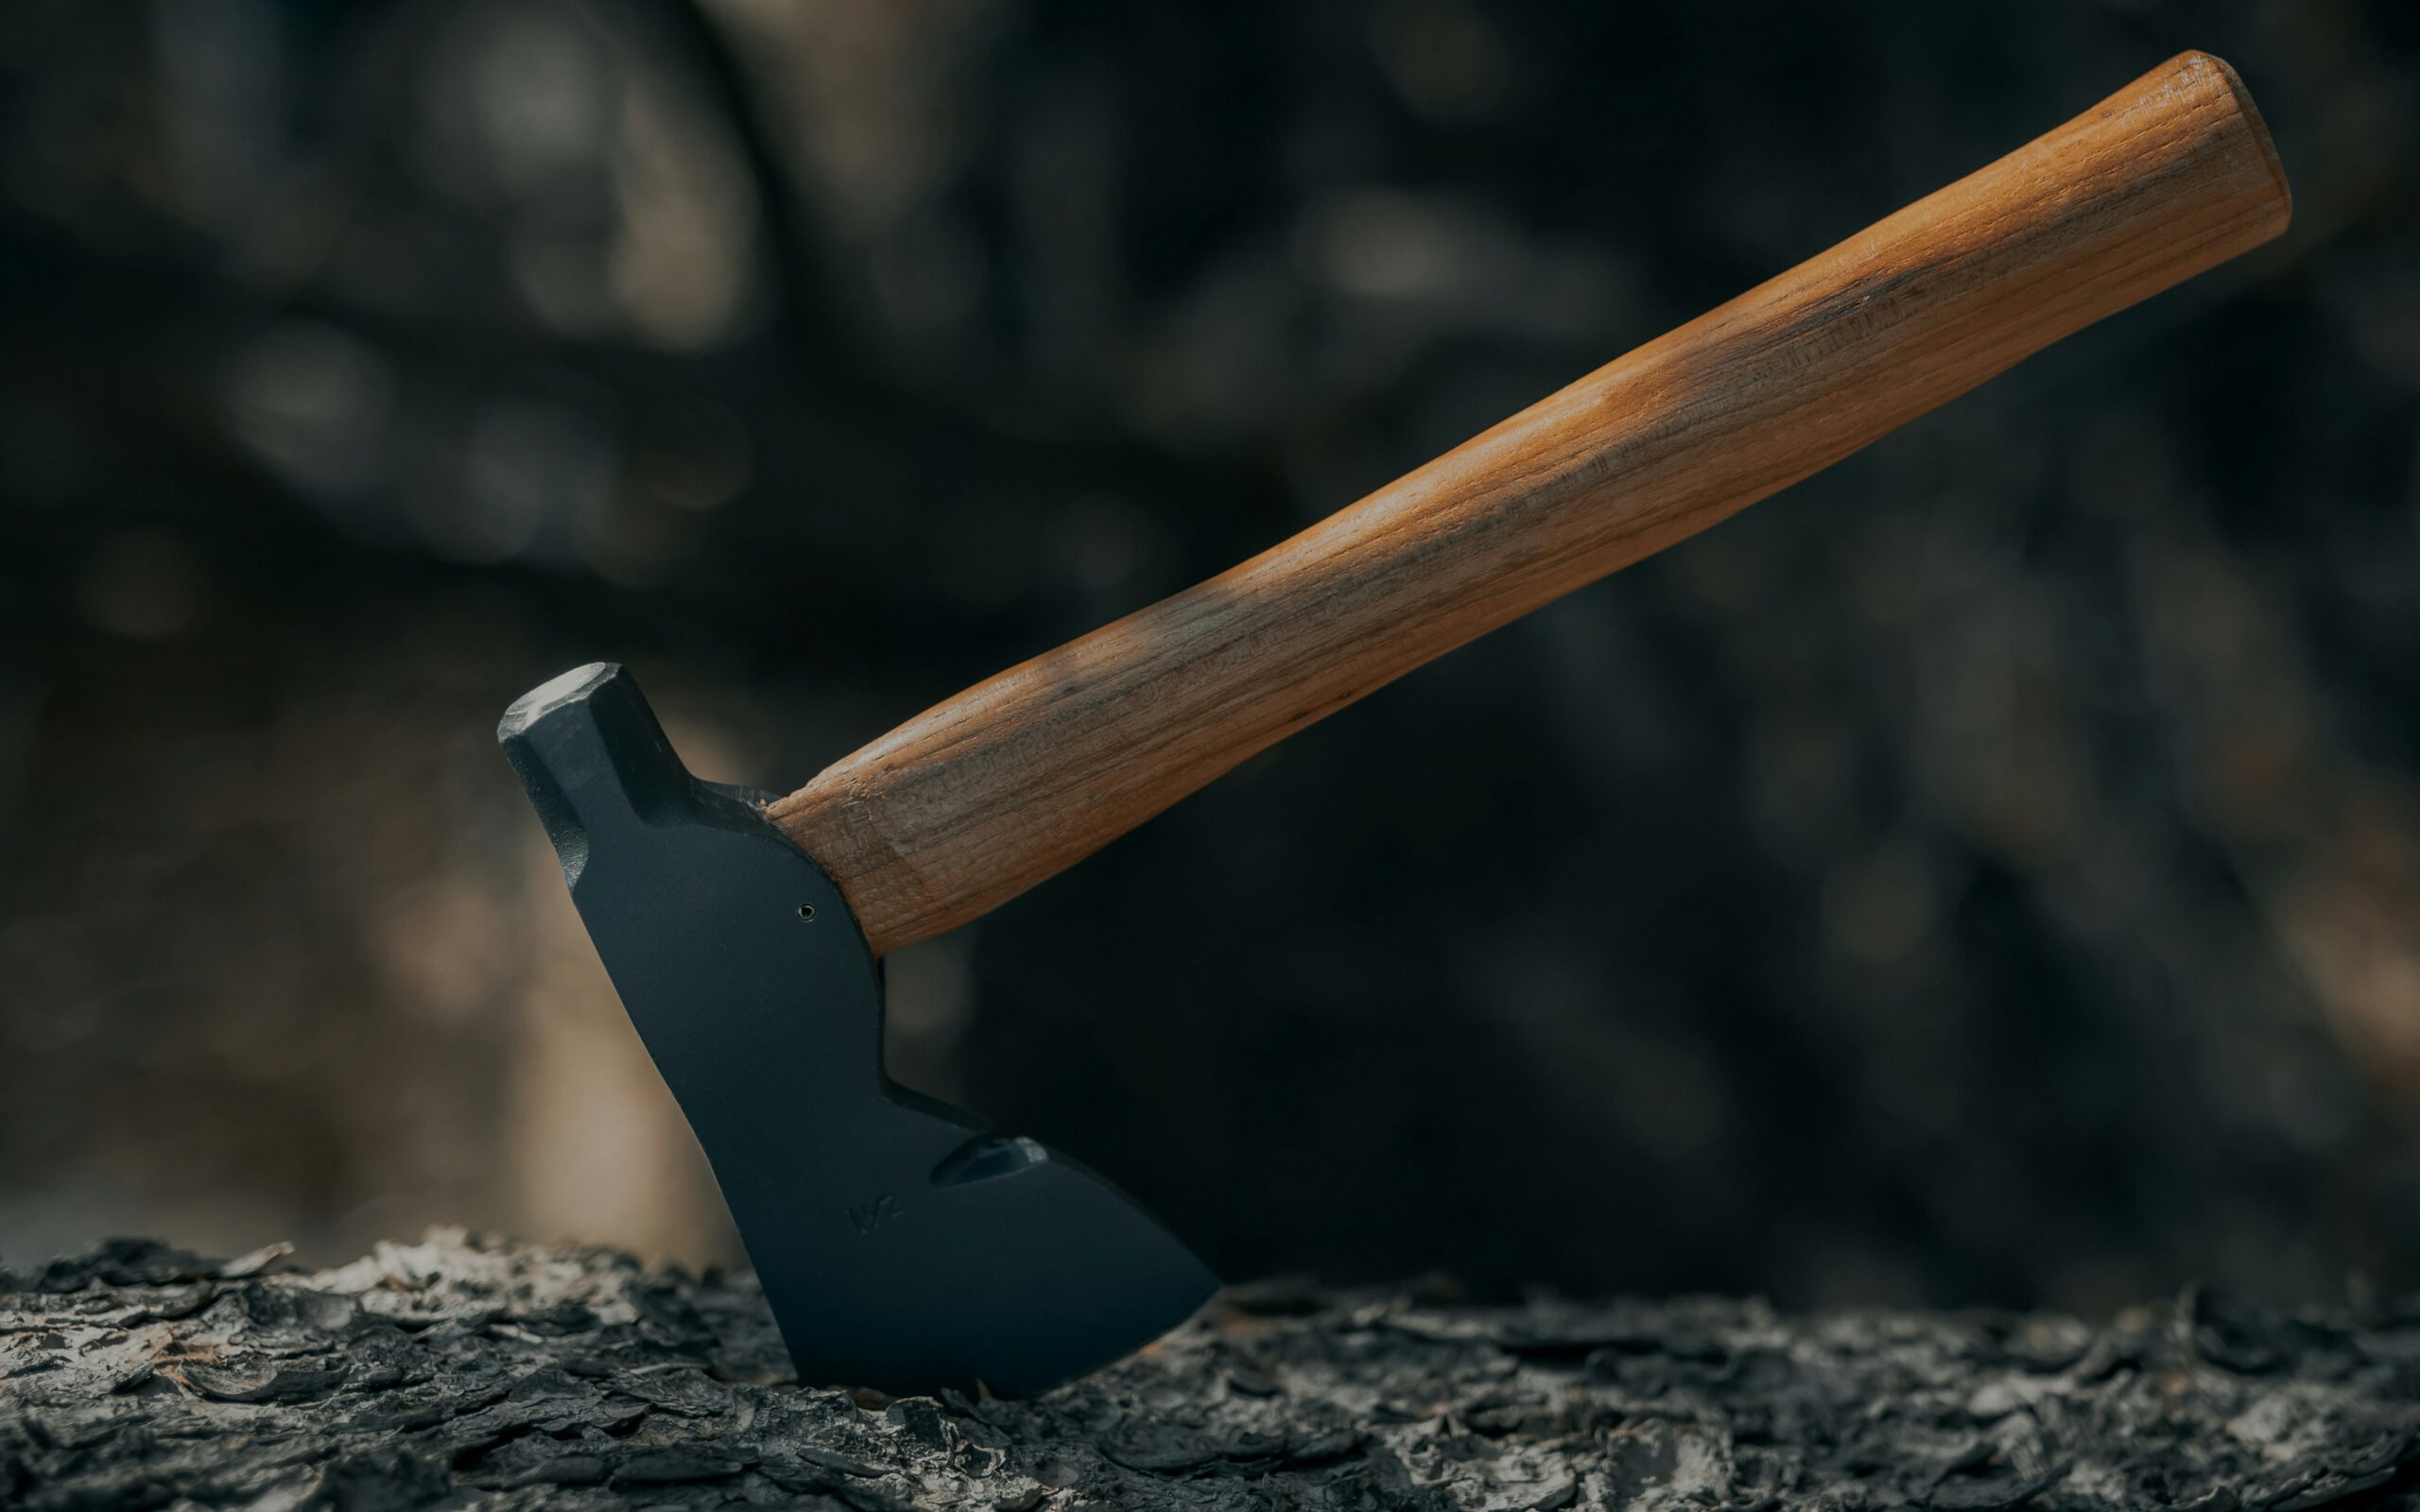
Finishing Touches
Finally, I applied a few coats of linseed oil to the handles. It protects the wood and gives it a nice, warm color. Let each coat dry completely before applying the next. For the metal heads, I gave them a light coat of oil to prevent rust.
The Finished Product
And that’s it! A refurbished hammer and hatchet with custom hickory handles. They feel great, look good, and are ready for some serious work. Definitely a satisfying project. Plus, now I’ve got some quality tools that’ll last for years. Thinking about tackling an axe next time… maybe.