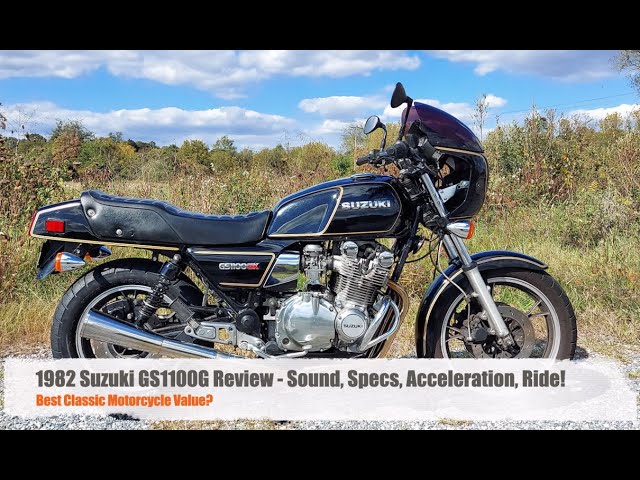
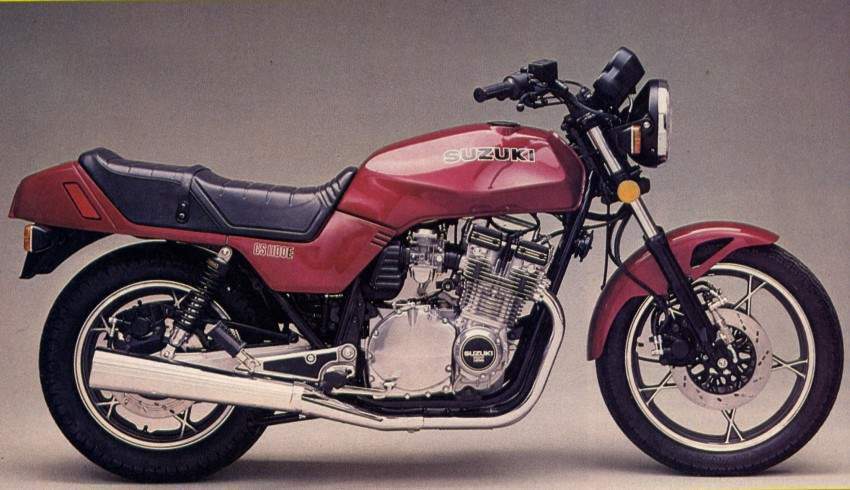
Okay, so I finally got my hands on a 1982 Suzuki GS1100E. It was a bit of a barn find, really. I’d been looking for a project bike for a while, something classic, something with character. And this GS, well, it definitely had character… and a whole lot of dust.
First thing I did was assess the situation. It was pretty rough. The bike was covered in grime, the tires were flat, and there was some rust on the frame. I mean, it hadn’t been started in years, so I wasn’t expecting showroom condition.
Getting it Home
I hauled it back to my garage on a trailer. That was an adventure in itself, making sure it was strapped down properly. Once I got it inside, the real work began.
Cleaning and Inspection
- I started by giving it a good wash. Just getting all that caked-on dirt off made a huge difference. I just used some regular car wash soap and a bucket of water.
- Then, I went over the whole bike, inch by inch, making notes of what needed to be replaced or repaired.
- The seat was torn, the chrome was pitted, and the paint was faded, but the engine seemed solid, which was the main thing.
The Engine
This was the big one. I pulled the spark plugs, and they were pretty fouled. I replaced those right away. Then I drained the old oil, which looked like sludge, and put in some fresh stuff, along with a new filter.
Next, I checked the carbs. They were a mess. I took them completely apart, cleaned all the jets and passages with carb cleaner, and put them back together with new gaskets. It was tedious, but satisfying.
The Electrical System
I traced the wiring, looking for any breaks or shorts. I found a couple of frayed wires, which I repaired with some solder and heat shrink tubing. The battery was completely dead, so I got a new one.
Brakes and Tires
The brake calipers were seized, so I rebuilt those with new seals and pistons. The brake lines were cracked, so I replaced those, too. And, of course, I put on new tires. No way was I riding on those old, dry-rotted things.
The First Start
After all that work, it was time for the moment of truth. I hooked up the new battery, turned the key, and hit the starter button. It cranked for a few seconds, and then… it fired up! It ran rough at first, but after a bit of fiddling with the carb adjustments, it settled into a nice, steady idle. It was music to my ears!
There’s still a lot more to do, like getting the bodywork sorted, but getting it running was a major milestone. It’s a great feeling to bring an old bike like this back to life. I’m definitely looking forward to getting it out on the road.