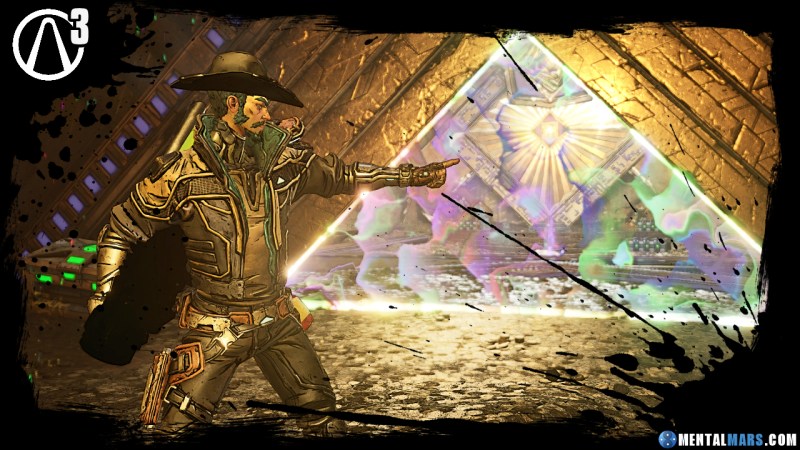
Okay, so “Heavenly Hall” – sounds pretty grand, right? I’ve been messing around with this idea for a while, and I finally got something I’m kinda proud of. Let me walk you through how I got there.

The Initial Spark
It all started with this simple idea. At first I want to create some unique staff. And I’m thinking, “What hasn’t been done to death?” I’ve seen a million glowing orbs and fancy particle effects. I wanted something… different. So I thought about structure, I could make a structure on that!
Building the Base
First, I grabbed a plain old cylinder in my 3D modeling program. Nothing fancy, just a basic shape. Then, I started playing with the proportions, squishing it down a bit, making it wider than it was tall. Think of a very short, stout column.
Next, I duplicated that cylinder and scaled the new one down, placing it on top of the first. This was going to be the start of the tiered design. I repeated this process a few times, each cylinder getting progressively smaller. It looked like a weird, stepped wedding cake at this point.
Adding Some Detail
The plain cylinders were boring. I needed to give them some character. So, I jumped into edit mode and started adding loop cuts. For example, a loop cut is a way to add more geometry to the model, that help me could add more deail.
With these new edges, I could extrude sections outwards, creating rings and ridges around each tier. I experimented a lot here, pushing and pulling vertices until I got a shape I liked. It was all about finding a balance between detail and simplicity.

- Extruding some faces outwards to make little platforms.
- Beveling edges to give them a smoother, more rounded look.
- Adding some small, decorative spikes around the edges of the tiers.
The “Heavenly” Touch
Now for the part that really gives it the “Heavenly Hall” name. I wanted to create the impression of floating islands or platforms, all interconnected.
I duplicated the model, scaled, rotated, and repositioned it, I could then create an interesting pattern.
Final Tweaks
Finally, I spent a good chunk of time just tweaking things. Moving parts around, adjusting the scale, and playing with the overall composition. It’s amazing how much difference small adjustments can make. It’s like cooking – a little more spice here, a little less there, until it’s just right.
And there you have it – my “Heavenly Hall” journey. It was a lot of trial and error, but that’s half the fun, right? Hope you enjoyed this little peek behind the scenes!